By integrating your account with Wix, you can manage the release or blocking of your client to Wix according to the sales status.
To activate the integration, you must obtain the credentials in your Wix account and then inform them in Guru.
On this page:
-
Step 1: Obtain credentials
-
Step 2: Activate the integration
-
What to do next
Before you start, you need:
-
Have an active Wix account.
-
Be an administrator user or have permission to perform the following actions.
Step 1: Obtain Credentials
In this step, you will learn how to obtain the APP credentials for integration with Wix.
Steps:
1 - Access your Wix account with username and password.
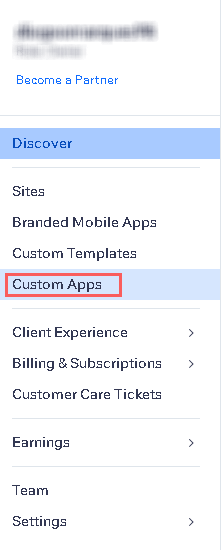
2 - In the side menu, click on Custom Apps.
3 - In Custom Apps, click on the App1 created.
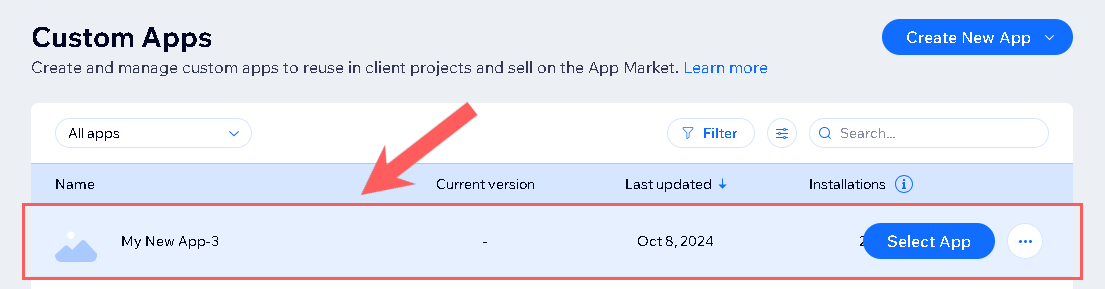
(1) Learn how to create an application in Wix.
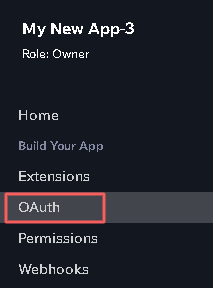
4 - In the left side menu, click on OAuth.
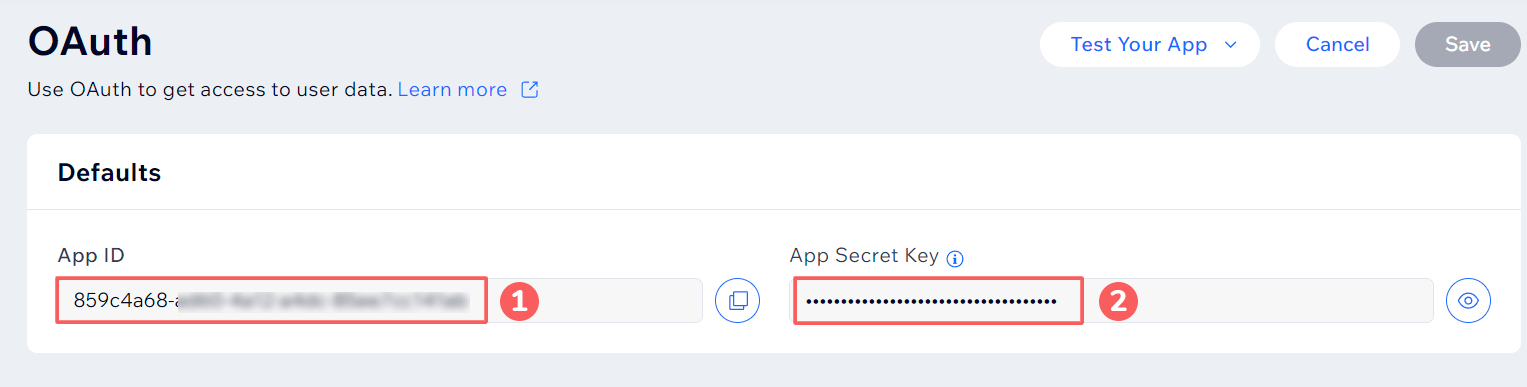
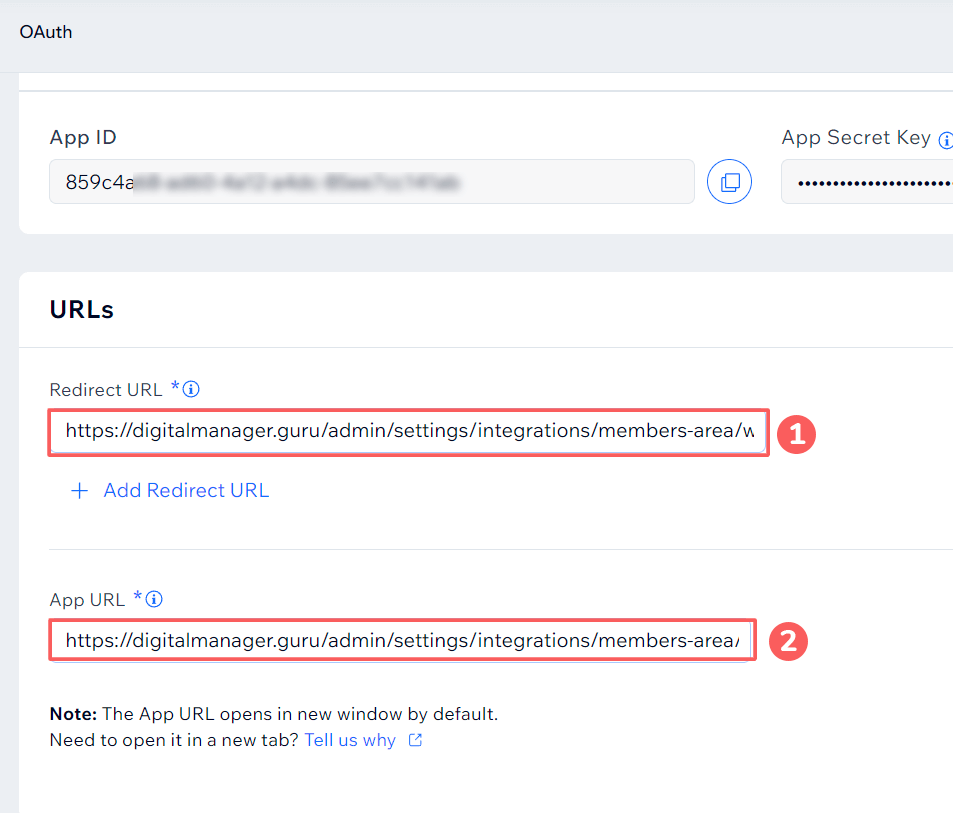
5 - Copy and Store the APP ID and APP SECRET KEY.
6 - In Advanced OAuth, in the fields Redirect URL and APP URL, paste the CALLBACK URL.
https://digitalmanager.guru/admin/settings/integrations/members-area/wix/callback
7 - In the left side menu, access Permissions.
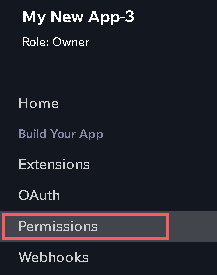
8 - Click on +Add Permissions.

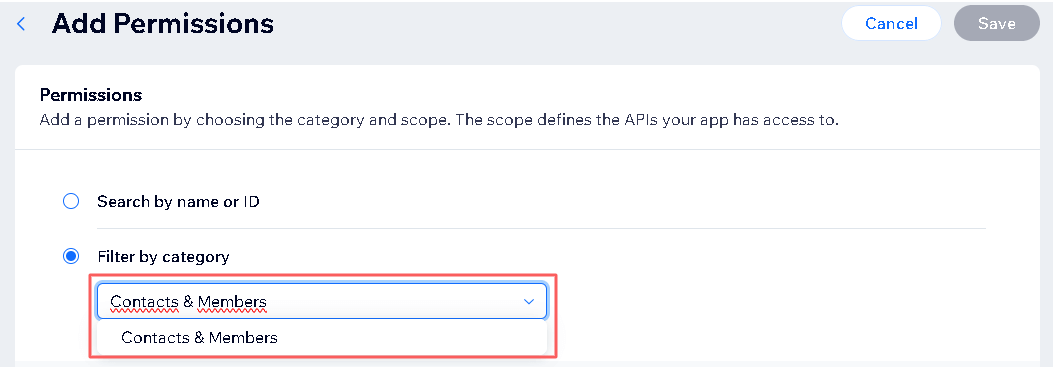
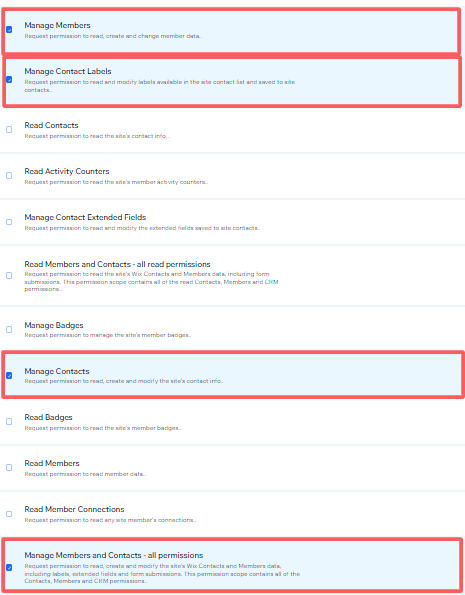
9 - In Filter by Category select Contacts & Members and select the permissions:
-
Manage members
-
Manage Contact Labels
-
Manage Contacts
-
Manage Members and Contacts – all permissions
10 - Click on Save

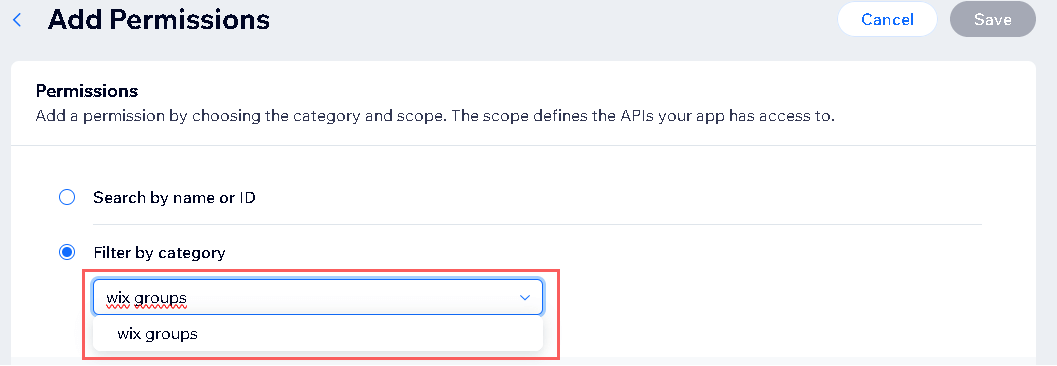
11 - Click again on +Add Permissions. In Filter by Category select Wix Groups and select the permission: Manage Social Groups.

12 - Click on Save.
Step 2: Activate the integration
In this step, you will inform Guru of the credentials obtained from Wix.
THE API key will not be available after saving the integration. If you change the API key, it will no longer be valid, and you will need to return to the Wix environment to obtain the key.
This change will bring greater security to your account, making it impossible to view integration data.
Steps:
1 - Access the guru admin with your username and password.
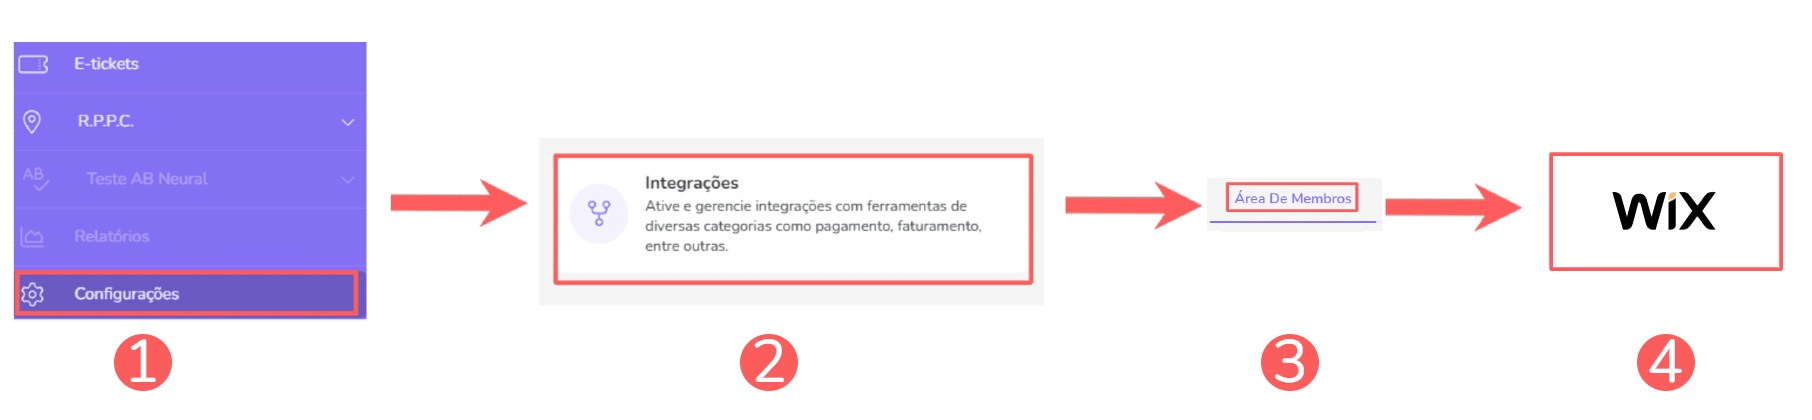
2 - In the side menu, go to Settings > Integrations > Member Area > Wix.
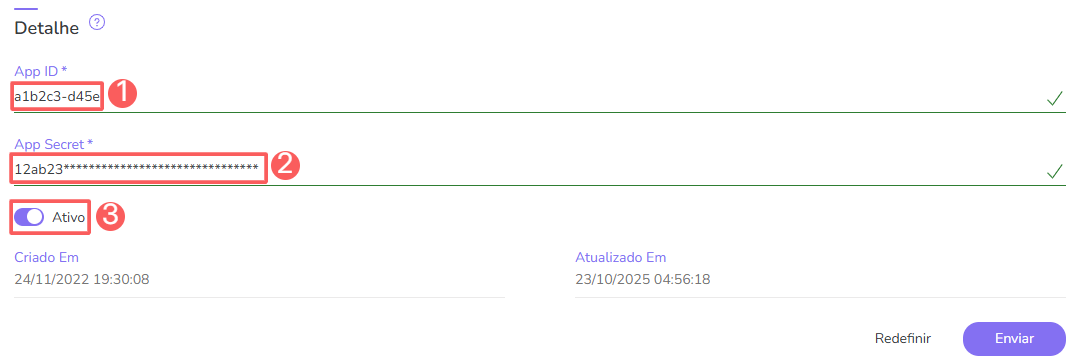
3 - In the Detail tab, enter:
-
APP ID: your access key obtained in step 1 item 5;
-
APP SECRET: your secret access key obtained in step 1 item 5;
-
Active: toggle the active button to the on position.
4 - Click on Connect.
To confirm that the integration is active, you should see a notification in the upper right corner.
5 - Select your site.
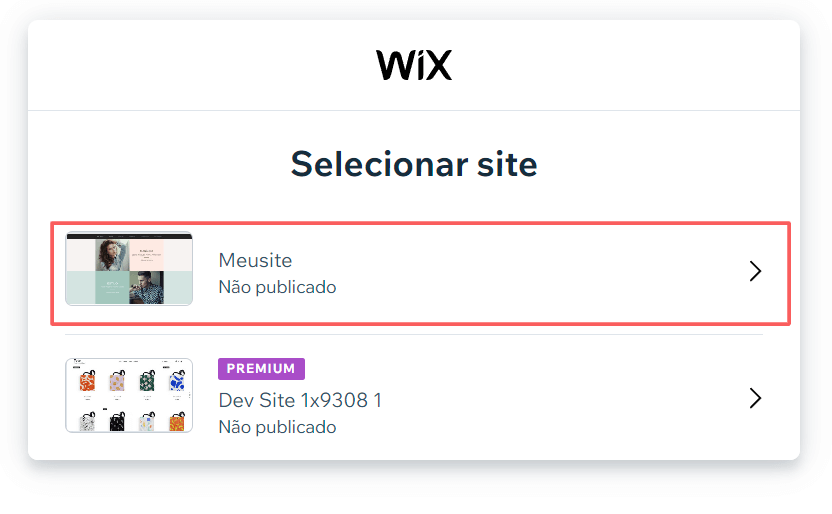
6 - Click on Add to site.
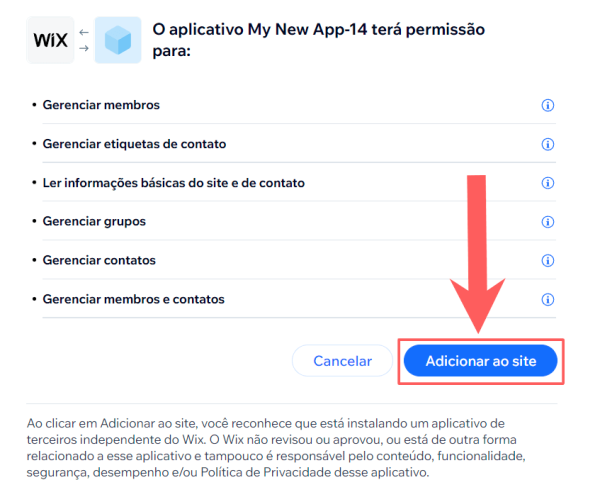
7 - On your Wix site, add the wix Groups app and create your groups.
What to do next
Once the integration with Wix is active, you must indicate to Guru which course the student should be enrolled in when a product or subscription sale occurs.
This configuration is done through Product Mapping:
Configure course access in Wix.
More Resources